Experimenting with generative art using a pen plotter.
Introduction
I've always been curious about generative art (drawings created by code), where the algorithm defines the shape, but chance defines the final result.
Pen plotters are the next step: computer-controlled drawing machines that move a pen across a surface stroke by stroke, opening up room for experimentation with different pens, papers, and materials.
In this post I document my first four tests, recording the problems I ran into and the adjustments made along the way.
Test 01
Timelapse
Timelapse of the first test.
Result
In this first test, I didn't position the paper correctly, so the drawing ended up shifted toward the bottom-left corner.
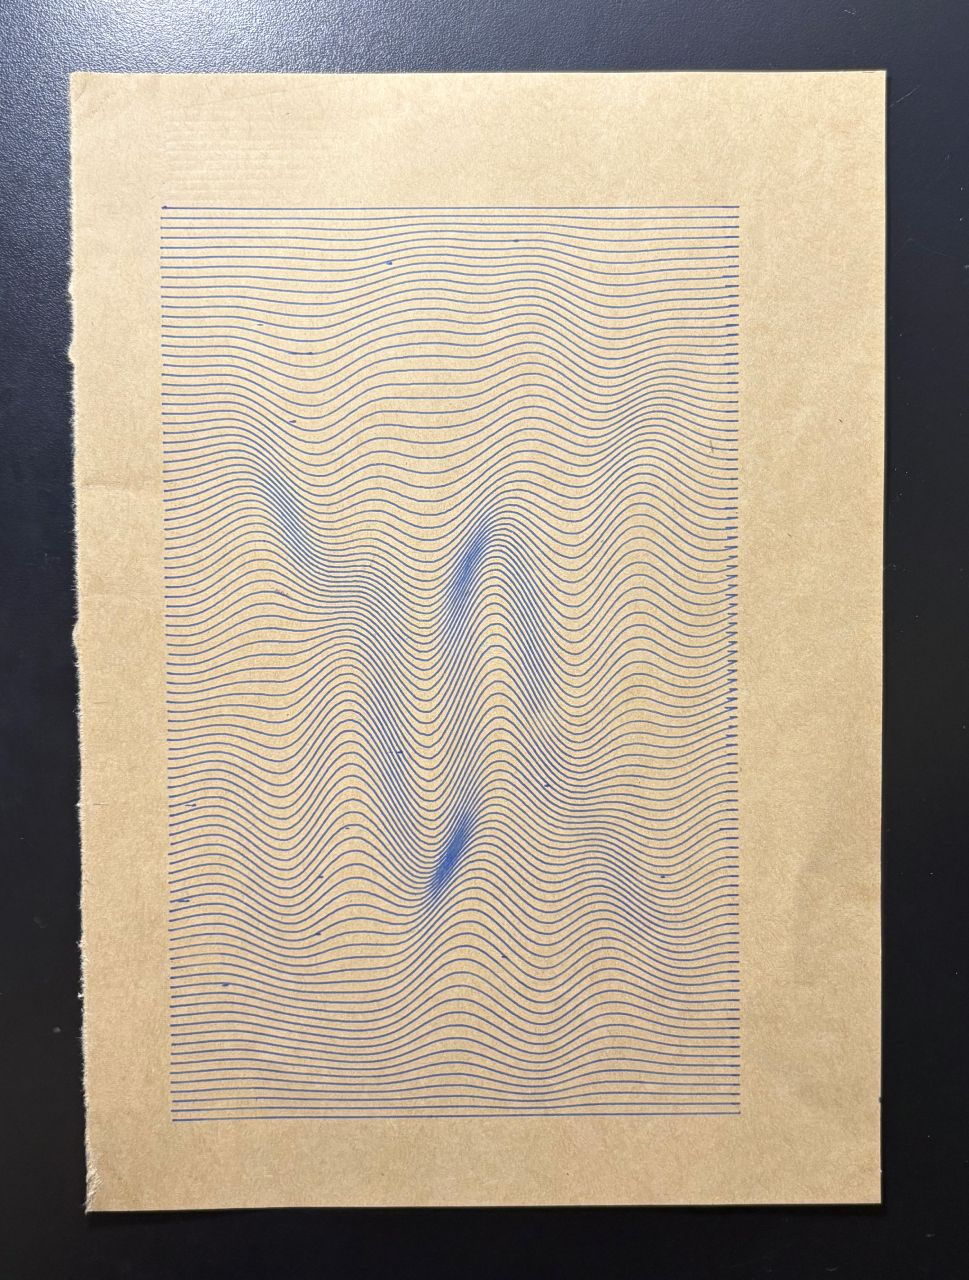
First test using a BIC Intensity 0.4mm blue pen on kraft paper.
Details
Extra lines
The pen drew from left to right. When finishing a line, it started moving left before it had fully lifted, leaving small straight marks that weren't part of the drawing.
In the following tests I experimented with different settings to eliminate this problem.
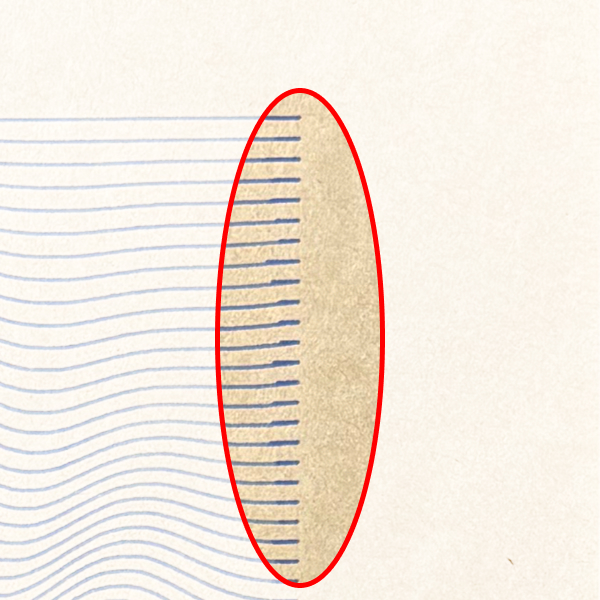
Extra lines caused by the pen moving while it lifted.
Extra dots
During some movements, the pen would lower slightly even without a command, touching the paper and leaving small unwanted dots.
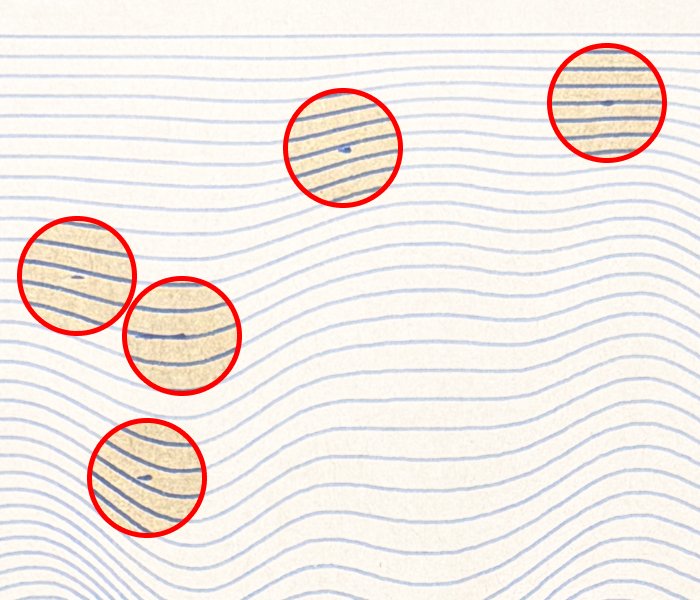
Extra dots caused by the pen's movement.
Design
The design is made up of hundreds of horizontal lines. Each line is deformed by simplex noise, forming an organic surface reminiscent of rippling fabric. The intensity of the deformation isn't uniform: a sine function reduces the effect at the edges and intensifies it at the center, keeping the extremities more stable and concentrating the movement in the central region.
Test 02
Result
In the second test, it was better centered horizontally, but vertically it sagged downward. Again, I didn't position the paper correctly.
I also had a few mishaps at the top-left of the sheet, which caused some scribbles.
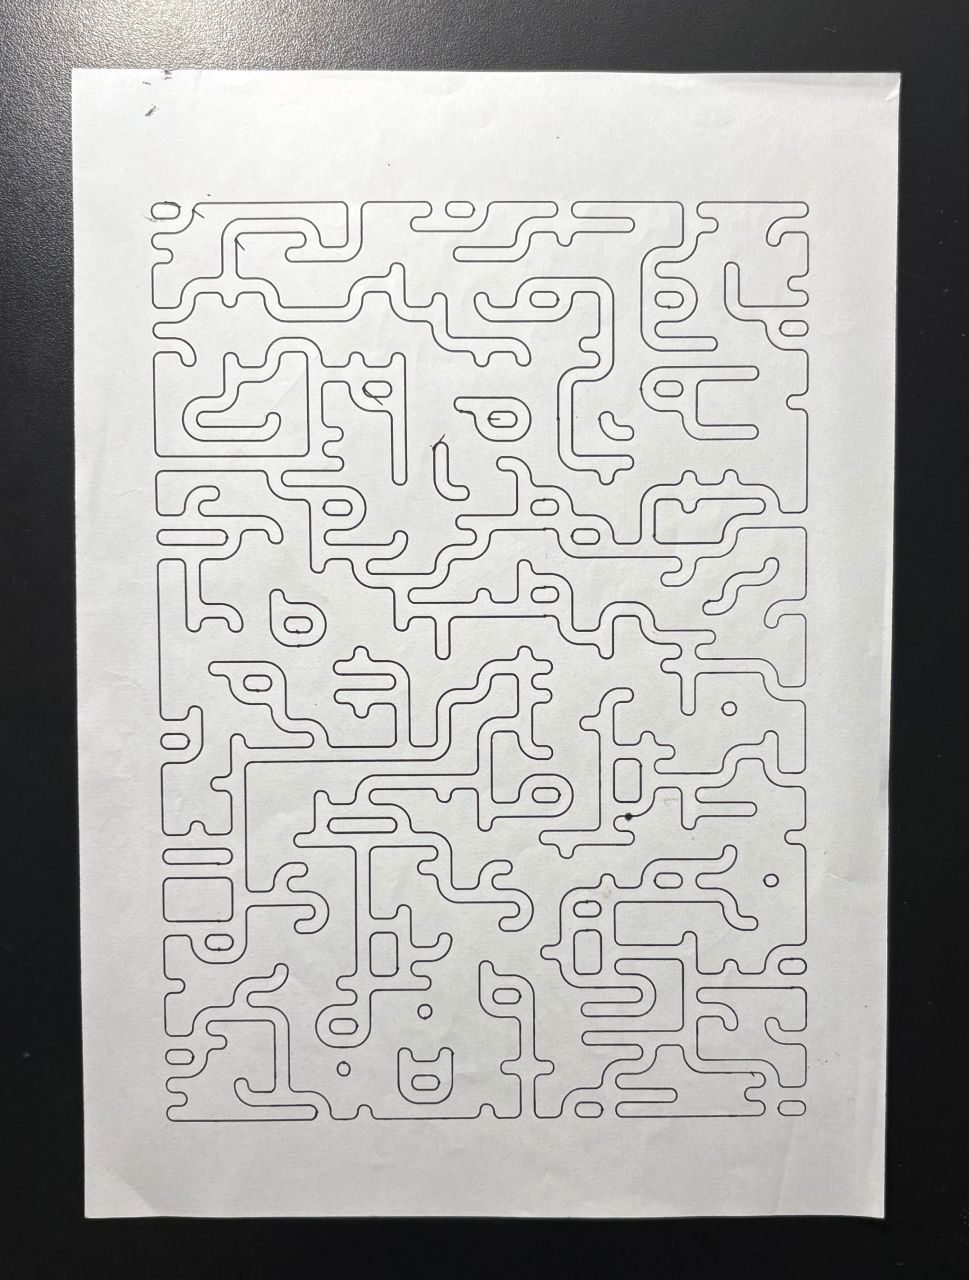
Second test using a BIC Intensity 0.4mm black pen on copy paper.
Details
Extra lines
Here I had the same problem as in the first test.
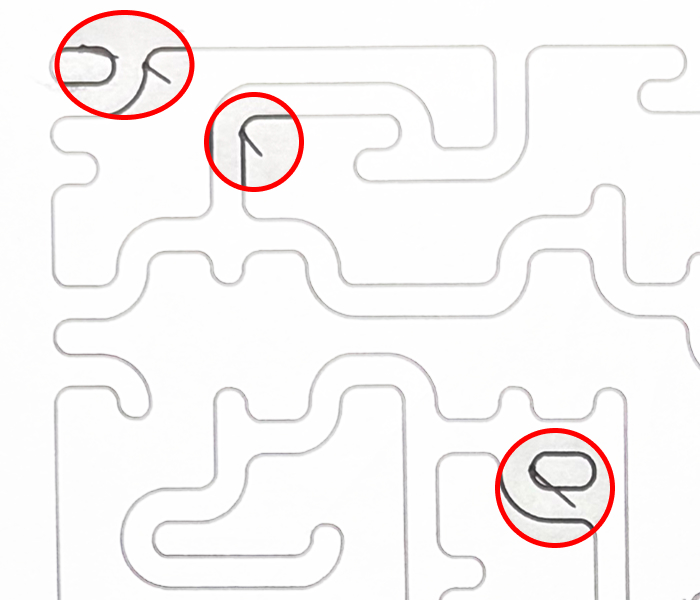
Extra lines caused by the pen moving while it lifted.
Pause for configuration
To try to solve the problem, I paused the plotter and set a 100 ms wait before and after the pen's raising and lowering movements.
While the plotter was paused for the configuration change, the pen stayed pressed against the paper, spreading ink.
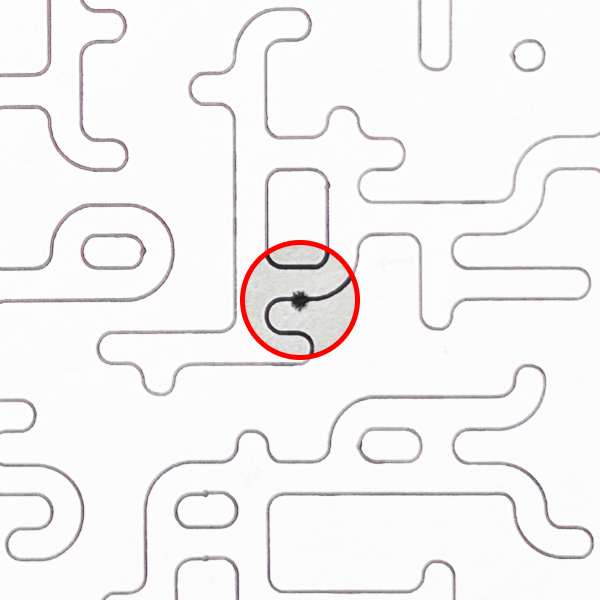
Larger blot caused by the pen resting on the paper for a few seconds.
No more extra lines
The adjustment eliminated practically all the extra lines. It's still possible to notice small dots where the pen touches or leaves the paper, but I consider this a natural effect of how the plotter works.
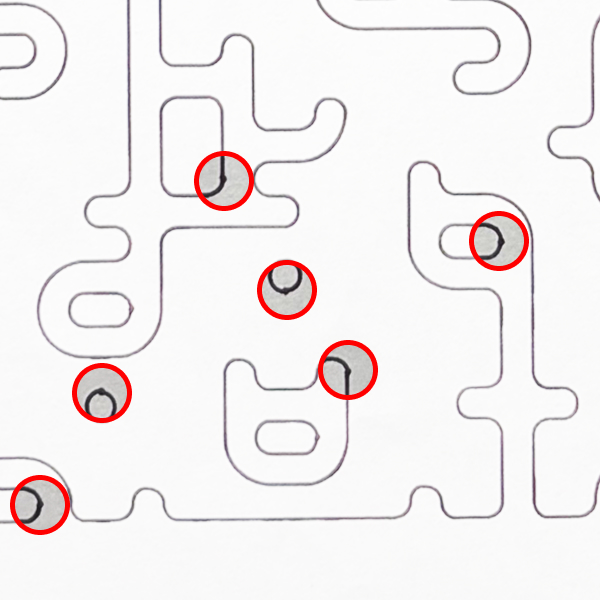
Test with a 100 ms pause before and after raising or lowering the pen.
Design
The design is based on a grid of cells separated by small gaps. Simplex noise determines which connections stay open or closed: the open ones are drawn as lines, while the closed ones are rounded corners.
Test 03
Result
In the third test, I got the best centering.
This time I had a few mishaps at the top-right of the sheet, resulting in more scribbles.
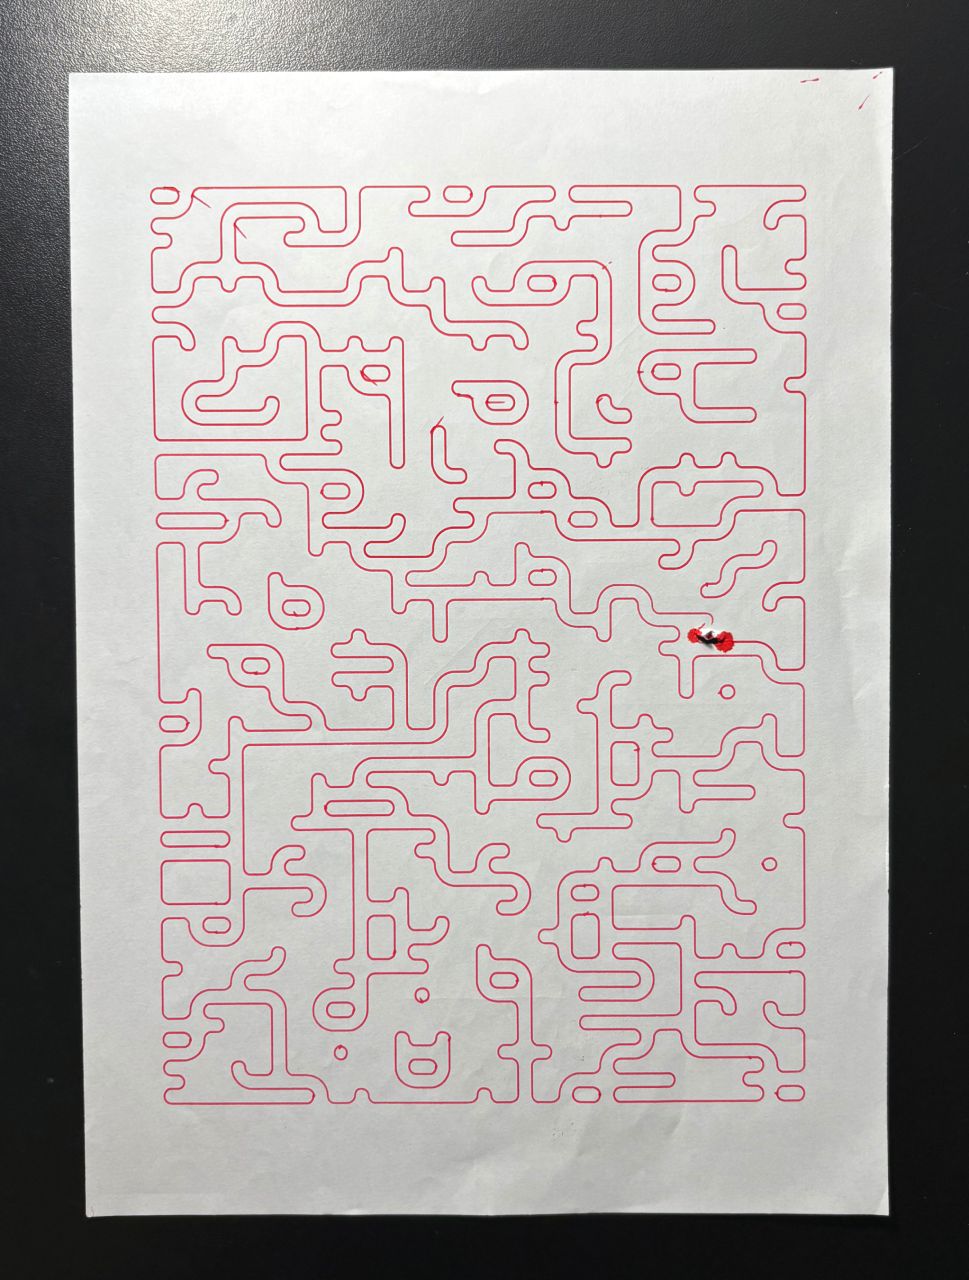
Third test using a BIC Intensity 0.4mm red pen on copy paper.
Details
More extra lines
This time I tried changing the pen height and removing the pauses between the pen's raising and lowering movements. The change didn't bring any improvement, and the extra lines showed up again.
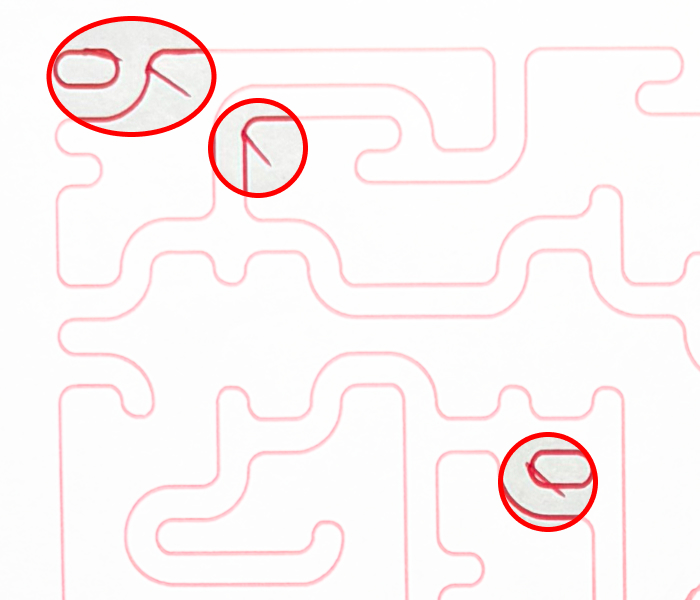
Extra lines caused by the pen moving while it lifted.
Pause for configuration
Again, I paused the plotter to change the settings, this time adding a smaller 75 ms pause.
While the plotter was paused for the configuration change, the pen stayed pressed against the paper for longer than in the previous test, tearing the paper.
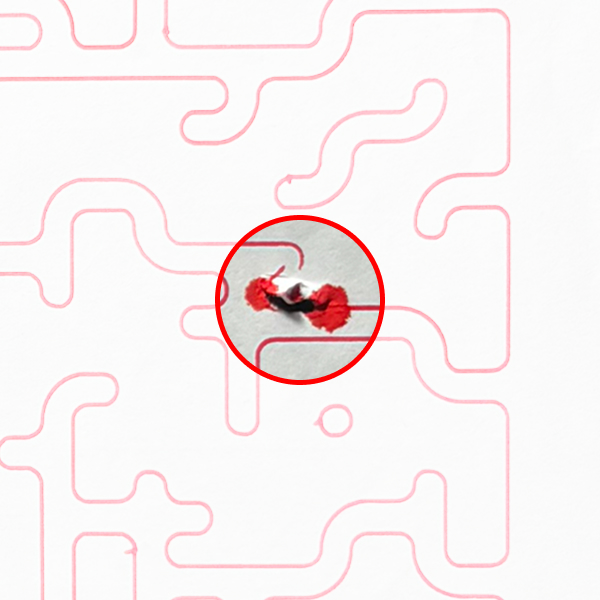
Tear caused by the pen resting on the paper for many seconds.
Small extra lines
With the pause reduced to 75 ms, the extra lines came back, but smaller than before.
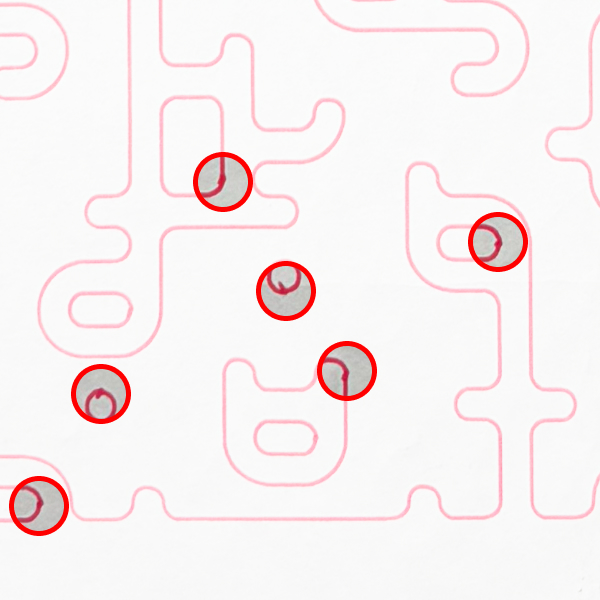
Test with a 75 ms pause before and after raising or lowering the pen.
Design
The same design as Test 02, this time drawn with a red pen.
Test 04
Result
This time I had a few mishaps at the top-left of the sheet, with scribbles, and at the bottom-right, with a tear in the paper when removing the masking tape.
Once again the pen lightly touched the paper while moving, causing some extra lines and dots that aren't part of the design.
At one point I also paused the plotter (I don't remember why), causing a larger accidental dot on the paper.
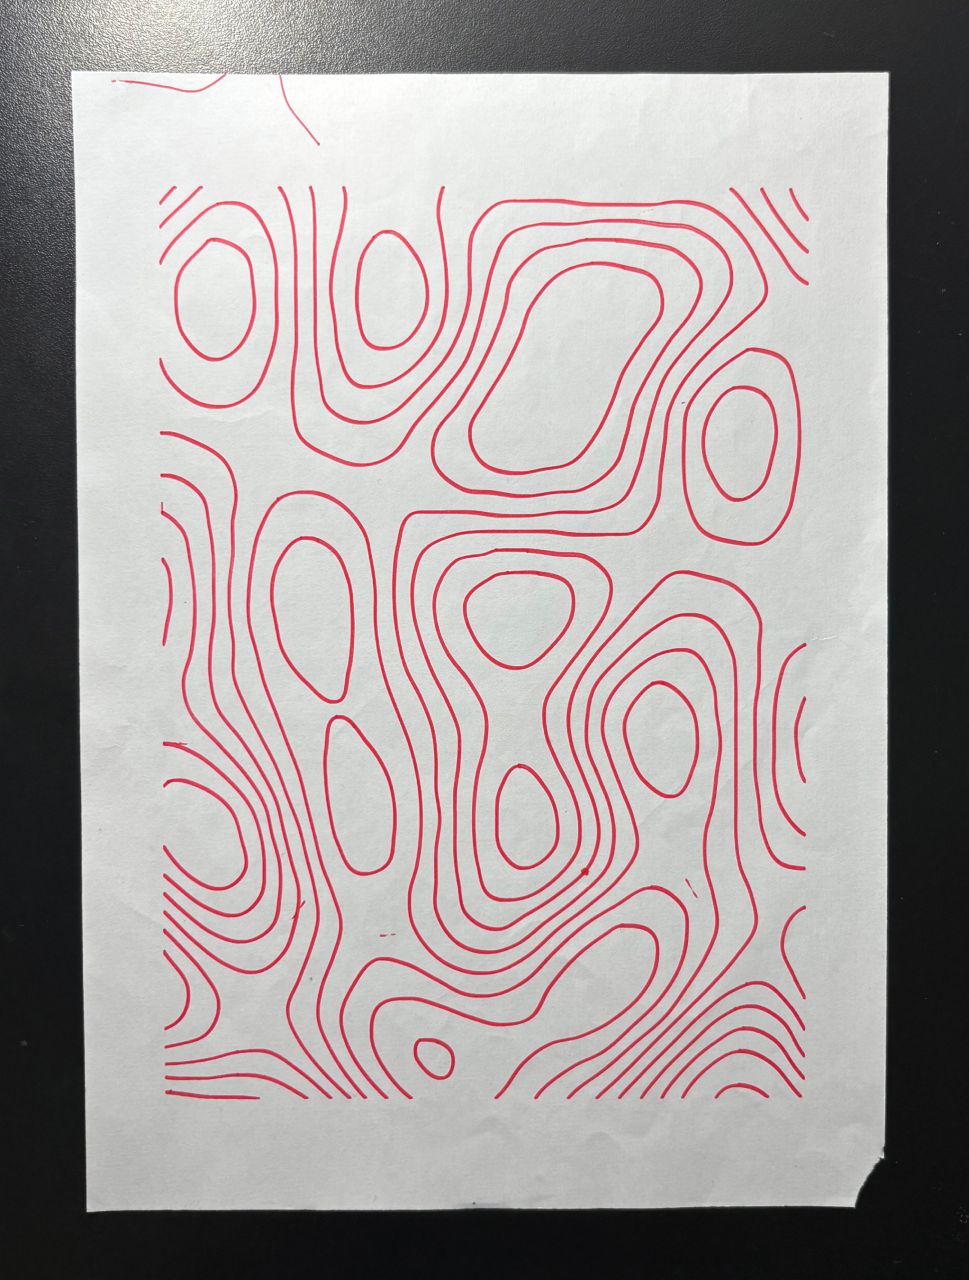
Fourth test using a BIC Intensity 0.4mm red pen on copy paper.
Details
Margins
Here I initially created a design without margins, which can cause the pen to lift the paper. I stopped the plotter and added margins to the design.
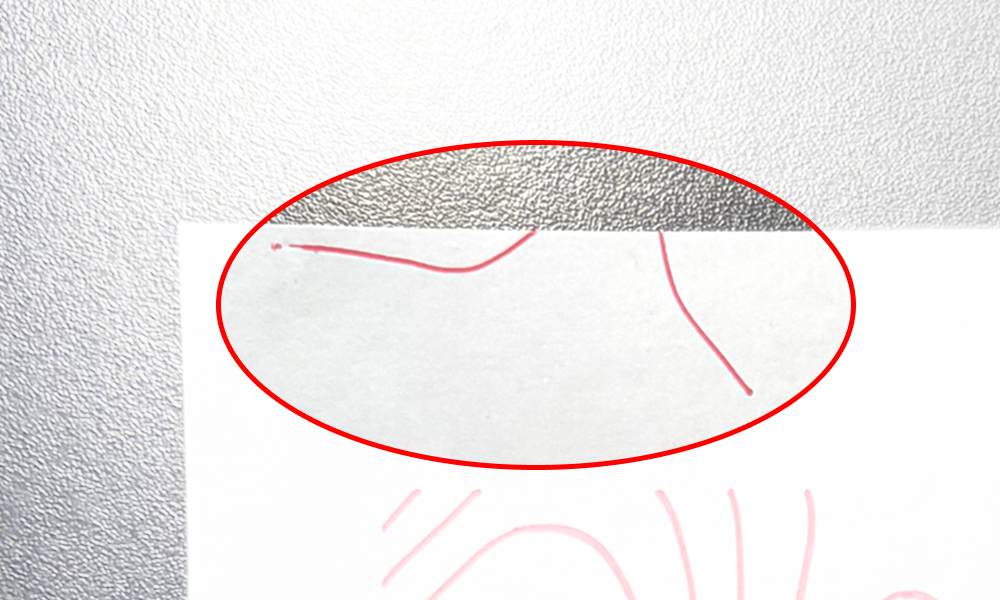
Design lines without margins.
Close lines
While tweaking the design in Figma, I accidentally generated close double lines, which made the lines thicker. I understand this is a valid technique to use on purpose in the future.
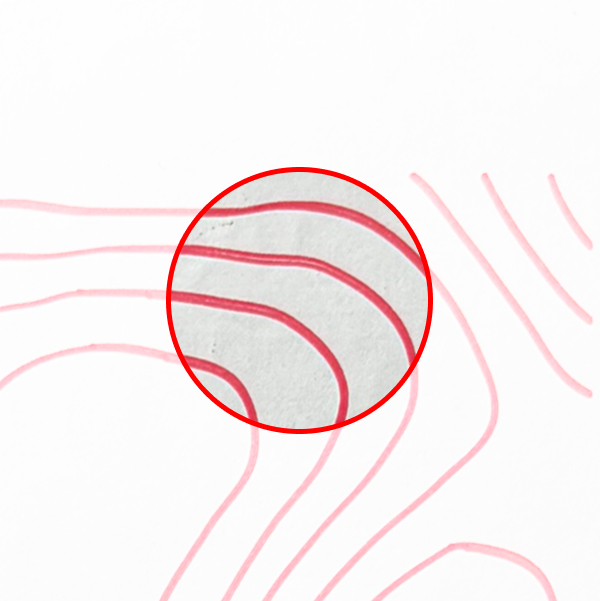
Close lines.
Design
The design is made up of contour lines similar to those found on topographic maps. Based on simplex noise, the algorithm identifies regions of equal intensity and traces the contours that separate them.
Conclusion
The main problem identified was the pen moving before it fully raised or lowered. The most effective solution was adding a 100 ms pause.
Other points of attention:
- Position the paper carefully before starting
- Avoid manual pauses during execution
- If pausing manually, remember to raise the pen
- Always define margins in the design to prevent the pen from lifting the sheet
In the next tests, I'll explore other materials and designs, and I expect that, with a more stable setup, the results will be more consistent.